The Hidden Culprits Causing Your Flooring Failure
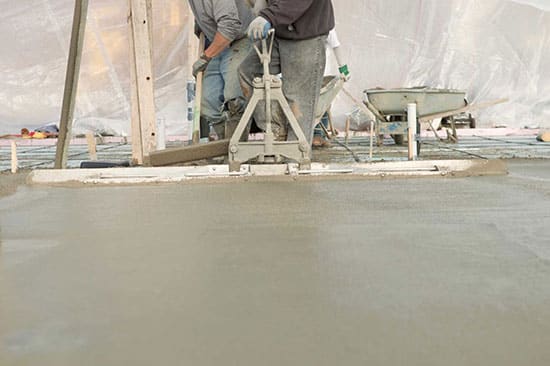
When concrete is first poured, it contains a lot of excess moisture that must dry off before a floor is installed on top.
You’re rushing from one job to the next when the phone rings.
It’s a customer whose floor you installed a couple months ago. They’re frustrated because their floor is cupping.
And so, you go over to investigate, hoping you can just point out a leak that needs fixing.
But no. A leak didn’t cause this flooring failure. It’s worse than that.
After a little investigation, you find that rainwater runoff is pooling around the house. Since you installed the floor during the summer, you weren’t aware of the drainage issue. It’s very possible that groundwater is migrating into the concrete subfloor and affecting the floor.
You’ve encountered one of the big hidden culprits for floors over a concrete slab. And that’s not the only one. Let’s find out more about these culprits and what you need to do to keep them from ruining your customers’ floors.
We’ll cover:
- Culprit #1: internal moisture in the concrete slab
- Culprit #2: groundwater
- Detecting the culprits
- Preventing concrete moisture problems
Culprit #1: Internal Moisture in the Concrete Slab
Some internal moisture is normal in a concrete slab. When concrete is first poured, it contains hundreds of gallons of water, though most of it must dry off before a floor is installed.
The problem occurs when contractors are in a rush and don’t allow sufficient time for drying. Since concrete dries from the surface, the surface might seem dry while deeper parts of the slab can still have excess amounts of moisture that will eventually migrate to the surface.
And it might migrate to the surface when the floor is already installed, causing damage like cupping or buckling.
That was the case with one couple who shared their experience on the Hardwood Flooring Talk forum.1
They had put down engineered wood over a concrete slab, only to begin noticing buckling a couple months later. And what’s worse, the excess moisture was also causing mold growth under the floor—something they didn’t realize until they ripped the floor up.
So, how can you prevent your customers from going through the same scenario? We’ll get to that soon.
But first, let’s discuss one more major culprit with a concrete slab.
Culprit #2: Groundwater
Poor drainage around a house can cause rain runoff and groundwater to pool near the foundation and come up into the concrete. However, this will typically occur only if the concrete slab doesn’t have a vapor retarder or the retarder it has is damaged.
As one hardwood flooring manufacturer, Kevin Pennington, points out,
“If the water table in your area rises and your slab does not have a barrier beneath it, it will take on the moisture and pass it through to the wood flooring.”2
This comment was in response to a homeowner who had bought a 15-year-old house with oak flooring on top of a concrete slab. When the floor started to buckle in the middle of the living room, the owner called a leak specialist and ruled out any leaks.
And that’s when Pennington suggested it could be a groundwater issue.
This groundwater, when not stopped by a vapor retarder, can migrate into the concrete slab since concrete tends to gain moisture when its environment is high in moisture. And from the concrete, it’ll move right into the floor.
Next thing your customer knows, their floor is failing.
How much better to detect the problem early and prevent failures in the first place!
Detecting the Culprits
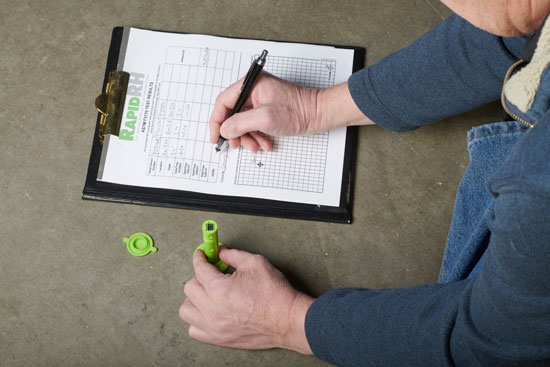
Relative humidity testing is the best way to find hidden moisture in a concrete slab, giving you confidence to know whether to proceed with a flooring installation.
One of the best ways to detect internal moisture is with relative humidity (RH) testing of the concrete early on. The in situ RH test, per ASTM standard F2170, is the best option for accurately understanding the moisture condition deep within the slab.
If the RH test shows that the concrete slab still has too high relative humidity, don’t install the floor. Wait until the slab has had time to dry.
If you notice that relative humidity levels in the slab are going up rather than down, you may be dealing with the presence of groundwater.
Some other indicators that groundwater could be an issue are:
- No vapor retarder (or a damaged one)
- Poorly graded land
- Lack of a good drainage system around the house
- Water pooling around the foundation
So, let’s talk about some ways to prevent these issues.
Preventing Concrete Moisture Problems
As a flooring installer, you can take numerous steps to prevent your customers from experiencing floor failures due to concrete moisture. These include proper testing and drying of the concrete before installation and using moisture mitigation strategies.
Prevent groundwater intrusion.
As a flooring installer, you probably won’t be responsible for putting groundwater preventive measures in place. But checking ahead of time can help you know what to expect and how to explain the risks to your customers.
Here are some things to find out:
- Is the land graded properly?
- Is a proper drainage system in place?
- Is the gutter system working well?
- Are there external sealants or sump pumps (if needed)?
If the answer to any of these questions is no, you can express your concerns to your customer and advise them on what preventive measures to take before you install flooring.
Test the concrete for moisture and allow it to dry.
As we’ve already mentioned above, RH testing is key for determining how dry concrete is. Many types of flooring need the slab to be less than 75% relative humidity before installation.
Per ASTM F2170, the standard for concrete RH testing, drill holes in the concrete to a 40% depth and place the in situ probes. You’ll need three for the first 1,000 square feet and one for every additional 1,000 square feet. Once you’ve inserted the probes, the standard requires that you wait at least 24 hours for them to equilibrate. After this, you’ll get nearly instant readings.
These readings will provide you with the information you need to proceed. You’ll know whether to allow more drying time or whether the floor is set to go.
Mitigate for moisture.
We like to think of this step as a kind of last resort. The best option is always to let the slab dry properly. But if a concrete slab has excess moisture and you know it isn’t going to dry, you can install some type of moisture mitigation/suppression product on the surface to prevent moisture from going up into the finished floor.
This will usually be a liquid product, like a topically applied epoxy or sealer. It could also be a sheet membrane, acrylic latex resin, or cementitious layer. Be sure to use the product recommended by the manufacturer of the floor.
Note: If you plan to test the RH of the concrete, do this before using any moisture mitigation products.
Defeat Flooring Failure Culprits
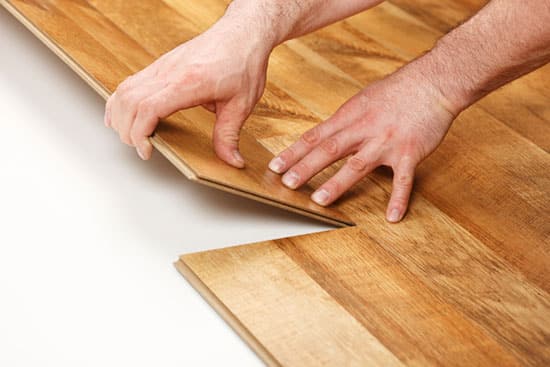
Prevent hidden moisture culprits to have confidence as you install your customer’s floor.
Understanding and addressing internal moisture and groundwater issues may be the difference between success and failure for your customer’s floor.
And it has the potential to affect your reputation as a floor installer.
But the right testing methods and preventative methods can go a long way in defeating the hidden culprits of flooring—and your reputation.
This has been the experience of Robert Bode, Vice President of CB Flooring in Maryland. His company began using Wagner Meters’ Rapid RH test to check for concrete moisture, and they haven’t turned back. Here’s what he has to say:
“I have seen all kinds of moisture testing methods that state they meet ASTM 2170, but we feel these Wagner probes provide the most accurate readings in the industry…. We have yet to have a failure since we started using their product and would highly recommend them to anyone that asks.”
Wondering how Rapid RH could help you prevent flooring failures, too? Visit our store to find the right set for you.
2. “Buckling oak floors, help help help,” Hardwood Flooring Talk.

Wagner Meters is a family-owned American business that aims to provide solutions in moisture measurement technology that will enhance the quality and value of each customer’s project. With an almost 60-year legacy of innovation, Wagner continues to be a resource for both individual craftsmen and high-performance commercial endeavors.
Last updated on March 6th, 2025

