10 Essential Tips for Accurate Woodworking Measurements and Marking
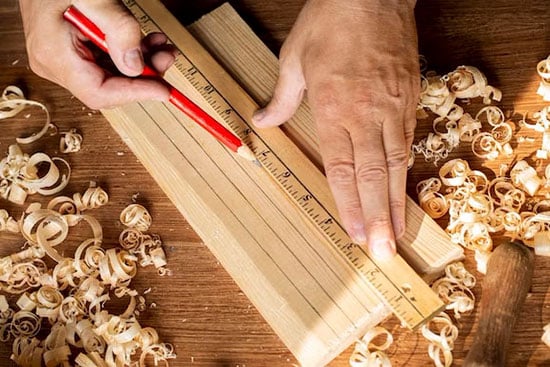
In the world of woodworking, accurate measurements and precise marking are essential for achieving high-quality results.
Whether you’re a seasoned carpenter or a DIY enthusiast, mastering the art of carpentry measuring can significantly enhance your projects.
This article presents 10 tips for accurate woodworking measurements and marking to avoid costly mistakes and wasted materials.
- Invest in quality measuring tools
- Understand wood movement
- Use the right marking tools
- Master the art of transferring measurements
- Measure twice, cut once
- Use jigs and templates
- Get familiar with fractional and decimal measurements
- Have a system
- Calibrate your tools
- Be consistent with tool brands
These woodworking tips will help you measure wood effectively, from understanding wood movement to utilizing the right measuring tools.
Implementing these strategies will improve your craftsmanship and give you confidence in your woodworking skills. Let’s dive into these invaluable woodworking tips to elevate your experience!
1. Invest in Quality Measuring Tools
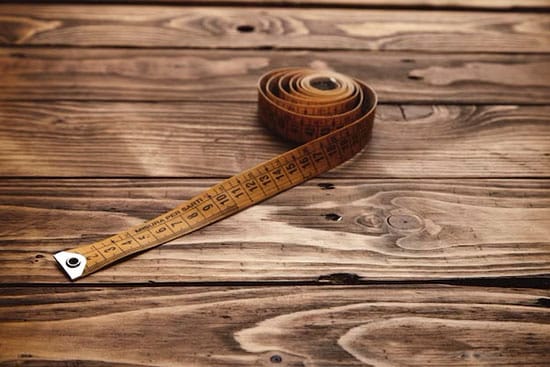 High-quality measuring tools can go a long way in helping you get accurate measurements for your projects.
But what exactly does “high quality” mean?
For one, it means the tools are made of durable materials, like stainless steel or aluminum. They offer better resistance to wear and corrosion, meaning they’ll last longer.
They also have a better build, meaning the tool will move smoothly and easily rather than jittering or catching.
Stay away from tools that easily bend, warp, or corrode. These issues can compromise the accuracy and longevity of the tool.
Second, look for tools that have etched or engraved markings rather than printed or painted ones. This way, you won’t have to worry about them wearing off over time. A plus is if the markings have contrasting colors so you can see them easily.
And finally, the following user-friendly features can make measuring easier too:
- Locking mechanisms—to keep the tools from moving or slipping
- Easy adjustment mechanisms, such as thumb screws or quick-release levers
- Ergonomic designs
With that, here are some essential measuring tools for woodworking:
Tape measure
Opt for a tape measure with a magnetic hook and end-stop if you work with magnetic materials. Make sure it has a shock-resistant case to protect it in case you drop it.
Ruler
Stainless steel rulers are the best option for durability and resistance to wear. You may also want one with a non-slip backing to prevent it from sliding during use.
Combination square
Find a combination square with a built-in level and scribe. Check that the head of the combination square has a locking mechanism so that it won’t move around when you’re measuring and marking.
Calipers
Digital calipers offer the advantage of quick and easy readings but require batteries and may be less durable in harsh workshop conditions.
Dial calipers, on the other hand, do not require batteries and may be more durable, but can be slightly harder to read.
Protractor
A protractor with a locking mechanism can help maintain the desired angle for accurate marking and measuring. Some protractors also feature a built-in scale or ruler for additional functionality.
Bevel gauge
Choose a bevel gauge with a locking mechanism to ensure that the angle remains consistent during use. The best material for the blade is stainless steel or aluminum.
2. Understand Wood Movement and Dimensional Changes
Wood is a hygroscopic material, meaning it absorbs and releases moisture in response to changes in the surrounding environment. This change in moisture content causes the wood to expand and contract, which can impact the dimensions of your project.
To account for wood movement and ensure precise measurements:
- Learn about the specific properties of the wood species you’re working with, such as its rate of expansion and contraction, and its stability in different climates and humidity levels. Use stable wood species or engineered wood products, such as plywood or MDF, in situations where wood movement is a major concern.
- Consider the direction of the wood grain when planning your project, as wood movement typically occurs more across the grain than along it.
- Allow for expansion and contraction gaps in your design, particularly when working with large panels, solid wood doors, or furniture that will be exposed to fluctuating temperatures and humidity levels.
- Acclimate your wood to the environment where the finished project will be used by storing it in the space for a week or two before beginning your work.
- Always use a pro-grade moisture meter to make sure your wood starts out at the proper moisture content.
For more on preventing wood moisture content, read our article about equilibrium moisture content.
3. Use the Right Marking Tools
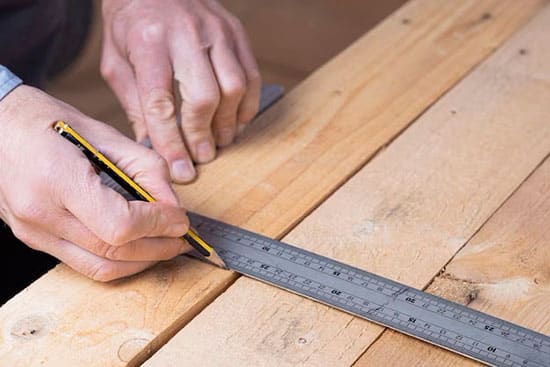 What kinds of marking tools should you choose? It’ll depend on the material you’re working with, the type of cut or joinery, and your personal preferences.
Here are some common marking tools and their uses:
Pencils
A standard pencil is a versatile and forgiving marking tool since you can easily erase or sand away its lines. Use a sharp one for fine lines or a carpenter’s pencil for bolder marks.
Markers
Permanent or semi-permanent markers provide a bold, visible line that is resistant to smudging. They’re particularly useful for marking on rough or dark surfaces, where pencil lines might be difficult to see. Keep in mind that they can be more challenging to remove or cover up, so use them judiciously.
Marking knives
These specialized tools offer the highest level of accuracy, so use them for tasks requiring precise joinery or intricate cuts. They create fine, clean lines by slicing through the wood fibers. These clean lines provide an exact reference for cutting and help prevent tear-out when sawing or chiseling.
When choosing a marking knife, look for one with a comfortable handle, a sharp, durable blade, and a flat back.
Awls
An awl is a pointed tool used for marking points or scribing lines on wood. While not as precise as a marking knife, it can be very useful for tasks like marking the centers of holes for drilling or laying out lines for rough cuts.
Choose an awl with a comfortable grip and a sharp, hardened steel point.
Chalk lines
A chalk line is a long, thin string coated in chalk that can be used to create long, straight lines on flat surfaces. It’s ideal for marking large panels or sheet goods where a ruler or straightedge might be impractical, and extreme precision isn’t required.
To use a chalk line, stretch the string tight between two points, lift it slightly off the surface, and then snap it down to create a straight, visible chalk line.
4. Master the Art of Transferring Measurements
Transferring measurements accurately is critical for precise woodworking, especially when working on projects with multiple identical components or complex joinery. Here are some techniques and tips for doing it well:
- Tick marks: Create small, precise marks at the edge of your workpiece to indicate the exact position of a cut or joint. Use a marking knife or a sharp pencil to make the tick mark, and then extend it with a straight edge or combination square, if necessary.
- Story sticks: A story stick is a long, narrow strip of wood or other material that is used to record and transfer a series of measurements. Mark all necessary dimensions directly onto the story stick, and then use it as a reference to transfer those measurements to your workpiece. Story sticks are especially helpful for projects with numerous repetitive measurements, such as cabinetry or furniture making.
- Direct transfer: In some cases, you can use one workpiece as a template to transfer measurements directly onto another workpiece. This works well with irregular shapes or when a precise fit between two pieces is essential.
Before you transfer your measurements, check that your marking tools are sharp and clean. And double-check the measurements and alignments to catch any potential errors.
5. Measure Twice, Cut Once
It almost goes without being said—the rule of measuring twice and cutting once helps prevent costly mistakes and wasted materials.
The best advice we can give is to make this part of your consistent work routine. Rather than rushing through measuring and marking, take your time here and you’ll avoid a lot of errors!
As you measure, keep in mind that every saw has a width, which means you’re going to be losing some material in the cut. Get in the habit of marking which side of your line the kerf should be on, and always align the edge of the blade on the correct side of the line, so you’re not left wondering why your cut was so imprecise.
Also, be sure to cut on the correct side of the mark rather than the center.
6. Use Jigs and Templates
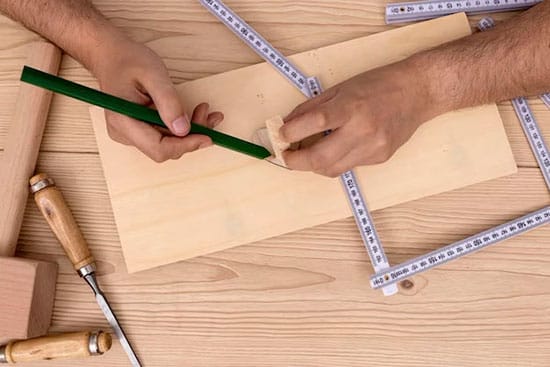 If you know you’re going to have to cut the same piece many times, jigs and templates can simplify that process. Let’s walk through how you can make them yourself.
Determine the type of jig or template needed
What is the specific task you’ll be doing? Cutting dovetail joints with a dovetail jig? Creating mortises and tenons with a tenoning jig? Producing identical parts with a router template?
Then, research various designs and options for your chosen jig or template, taking into account factors such as ease of use, versatility, and adaptability to different project requirements.
Construct your jig or template
Create your jig or template, ensuring that its dimensions and shapes align with your project specs.
Reinforce joints and connections in your jig or template with screws, glue, or other fasteners to ensure stability and durability during use. For example, when building a crosscut sled, ensure the fence and runners are securely attached.
You can also add features such as clamps, stops, or guides to your jig or template. These will make them easier to use and more accurate.
Test and adjust your jig or template
Before using your jig or template for your actual project, give it a trial run on some scrap material. Doing this will give you an opportunity to make any adjustments—and prevent you from wasting material.
Continue to test and modify until you have exactly what you need.
Label and store your jigs and templates
Clearly mark each jig or template with a label or tag indicating its purpose and dimensions. Keep them organized in a designated storage area—and if you have a lot of them, you may even want to have some kind of inventory system. You’ll save yourself a lot of future confusion!
7. Familiarize Yourself with Fractional and Decimal Measurements
Woodworking often involves both fractional and decimal measurements, so make sure you’re comfortable with both systems.
For one, practice converting between the two systems, using a calculator or memorizing common conversions (e.g. 1/4 inch equals 0.25 inches).
Be aware of the potential for rounding errors when converting between the two. For example, 1/32 inch is approximately 0.03125 inches, but it’s often rounded to 0.03 inches in decimal form. This small difference can accumulate and cause inaccuracies in your project if not accounted for and if that level of precision is required (it’s okay to recognize that not all projects require that level of precision.)
Familiarize yourself with the increments in both systems. In the fractional system, measurements are typically divided into eighths or sixteenths of an inch, while decimal measurements use increments of tenths or hundredths.
Along with these increments, you’ll find there are common woodworking measurements with both systems. For instance, standard plywood thicknesses are often expressed as 1/4 inch, 1/2 inch, and 3/4 inch in the fractional system and 6mm, 12mm, and 18mm in the metric system.
Finally, keep a conversion chart or reference guide handy in your workshop—you never know when you might need it!
8. Develop a System for Marking and Labeling
 A consistent system for marking and labeling your workpieces will help you stay organized and prevent confusion throughout your woodworking projects.
Here are some different methods you can use:
- Symbols or abbreviations: Create a set of standardized symbols or abbreviations to denote specific measurements, cut types, or assembly instructions. For example, you could use a circle to indicate where to drill a hole or a “V” to mark the waste side of a cut.
- Color-coding: Use colored pencils, markers, or chalk to differentiate between various measurements or assembly steps. Assign specific colors to different tasks, such as red for final cuts and blue for rough cuts.
- Numbers: Number your workpieces or components to ensure they are assembled in the correct order. This is particularly useful for projects with many identical or similar parts, such as cabinets or furniture.
- Labels: Clearly label the mating parts of your joinery, such as “A1” and “A2” for the first set of matching mortise and tenon joints, and “B1” and “B2” for the second set. Drawing a shape like a triangle across the joint can also make it easier to see how to reassemble the piece quickly—just match up the two halves of the shape.
Use your marking and labeling system consistently across all your projects. This will make it easier to understand and interpret your marks, ultimately saving time and reducing the risk of errors.
9. Calibrate Your Measuring Tools
Check and calibrate your measuring tools regularly to keep them in tip-top shape.
Here are guidelines for various tools:
- Combination square: Check the squareness of your combination square by placing it against a straight edge, drawing a line along the blade, then flipping the square and drawing another line parallel to the first one. If the lines are not parallel, adjust the square according to the manufacturer’s instructions.
- Tape measure: Verify the accuracy of your tape measure by measuring a known distance, such as the length of a precisely cut board or a machinist’s rule. If your tape measure is off, consider replacing it or recalibrating it if possible.
- Calipers: Check the accuracy of your calipers by measuring a known dimension, such as the diameter of a precisely machined rod or the thickness of a reference gauge block. If the calipers are inaccurate, follow the manufacturer’s instructions to recalibrate them.
- Protractor and bevel gauge: Verify the angle settings of your protractor and bevel gauge by comparing them to a reference, such as a machinist’s square or an accurately set miter saw.
In addition to calibration, perform regular maintenance on your measuring tools, such as cleaning, lubricating, and tightening any loose parts. This way, you’ll prolong their lifespans and maintain their accuracy.
10. Be Consistent with Tool Brands
Working with a team of woodworkers? Or just helping out a friend? If you’re using different brands of measuring tools (especially measuring tapes and combination squares), you may end up with minor differences in your measurements.
The reason for this is that different brands may have varying calibrations, manufacturing procedures, and printing/engraving setups.
To avoid this problem, make sure your measuring tools are from the same brand or manufacturer.
Measure Well for a Successful Project
Accuracy can make a world of difference in a woodworking project. It can be the difference between a perfectly level table and a table with one leg that’s slightly shorter than the rest. Or joints that fit perfectly together and joints that are weak and unstable.
So why take shortcuts and risk these mistakes?
With these 10 woodworking tips, you’ll set yourself up for success and prevent wasted time and materials.
We’d love to hear your thoughts, too. What tips work well for you? Do you have any more to add?
If you’re still new to wood moisture meters we have a guide on how to use a moisture meter that can better help you get started.

Wagner Meters is a family-owned American business that aims to provide solutions in moisture measurement technology that will enhance the quality and value of each customer’s project. With an almost 60-year legacy of innovation, Wagner continues to be a resource for both individual craftsmen and high-performance commercial endeavors.
Last updated on October 25th, 2024


