Top 10 Essential Wood Finishes: Pros, Cons, and Application Tips
One of the most important aspects of any woodworking project is applying an appropriate finish to the wood.
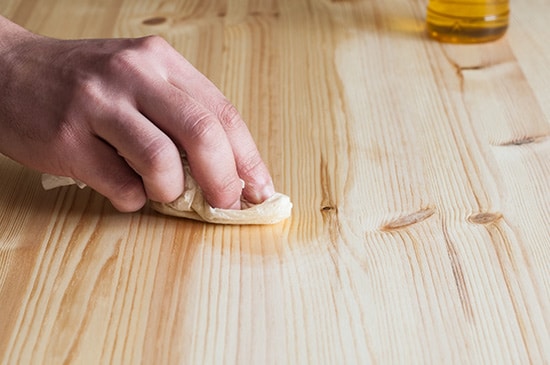
And it’s about more than just aesthetics. The right finish can provide protection and durability.
As you consider what finish is best for your project, the options may seem a bit overwhelming. Which to choose?
That’s why we’ll explore the top ten essential wood finishes, discussing their pros, cons, and application tips:
- Oil-based finishes
- Varnish finishes
- Shellac
- Lacquer
- Water-based finishes
- Wax finishes
- Stains
- Dyes
- Paint
- Epoxy resin
Whether you’re a seasoned woodworker or a beginner looking to broaden your knowledge, this guide will be a valuable resource as you select the perfect finish for your woodworking projects.
Oil-based Finishes
Linseed Oil
Linseed oil is a natural, slow-drying oil derived from flax seeds. Commonly used on furniture, cutting boards, and wooden tools, it’s an excellent choice for enhancing the wood grain and providing a warm, rich finish.
Pros:
- Easy to apply
- Environmentally friendly
- Natural, warm finish
Cons:
- Limited protection against moisture and scratches
- May darken over time
- Potential to spontaneously combust if the rags are not disposed of properly
Application tips: Apply linseed oil with a clean, lint-free cloth, working in thin, even coats. Allow each coat to dry for 24–48 hours before applying additional coats. Wipe off any excess oil after 15 minutes to prevent a sticky residue.
Tung Oil
Tung oil comes from the seeds of the tung tree and is a popular choice for finishing wood furniture, countertops, and cutting boards. It penetrates the wood and hardens over time, providing a durable, water-resistant finish.
Pros:
- Easy to apply
- Good water resistance
- Beautiful, natural finish
Cons:
- Takes longer to dry than other finishes
- May require multiple coats for optimal protection
Application tips: Apply tung oil with a clean, lint-free cloth or brush, working in thin, even coats. Allow each coat to dry for at least 24 hours before applying additional coats. Lightly sand between coats to ensure proper adhesion.
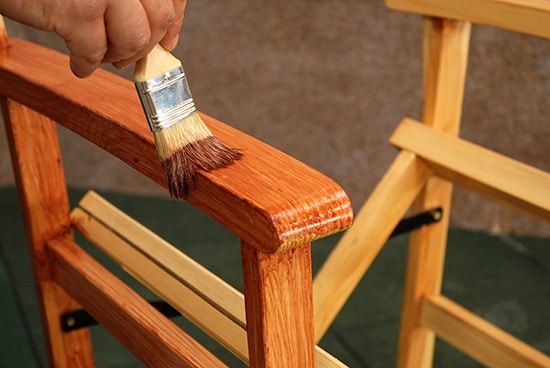
Varnish Finishes
Polyurethane Varnish
Polyurethane varnish is a synthetic finish that protects against moisture, scratches, and general wear and tear. It’s commonly used for furniture, cabinetry, and flooring.
Pros:
- Highly durable
- Water-resistant
- Available in a range of sheens, from matte to high gloss
Cons:
- More difficult to apply than other finishes
- May yellow over time, particularly on lighter woods
- Tends to look like plastic
Application tips: Apply polyurethane varnish with a high-quality brush, working in thin, even coats. After it has dried for at least 4–6 hours, lightly sand and apply additional coats. Use a tack cloth to remove any dust between coats.
Spar Varnish
Spar varnish, also known as marine varnish, is a long-lasting, flexible finish designed for harsh, outdoor environments. This quality makes it a great choice for boats, outdoor furniture, and exterior doors and trim.
Pros:
- Water- and UV-resistant
- Accommodates wood movement from changing temperature and humidity
Cons:
- More difficult to apply than other finishes
- Longer drying time
Application tips: Apply spar varnish with a high-quality brush, working in thin, even coats. Allow each coat to dry for at least 24 hours before lightly sanding and applying additional coats. Use a tack cloth to remove any dust between coats. Be sure to work in a well-ventilated area, as spar varnish can have strong odors.
Shellac
Shellac is a natural finish derived from the secretions of the lac bug. Because of its warm, glowing appearance, it’s often used for antique furniture, musical instruments, and fine woodworking projects.
Shellac is also common as a seal coat for lacquer. And here’s an important note: Most shellac finishes from the big box stores contain additional wax. So if you plan to use shellac for sealing, look for dewaxed shellac.
Pros:
- Easy to apply
- Dries quickly
- Available in various shades
Cons:
- Limited protection against moisture and scratches
- Sensitive to heat and alcohol
Application tips: Shellac is traditionally applied using a technique called “French polish.” It involves applying many thin coats of shellac using a polishing pad—rather than a brush or spray gun.
Lacquer
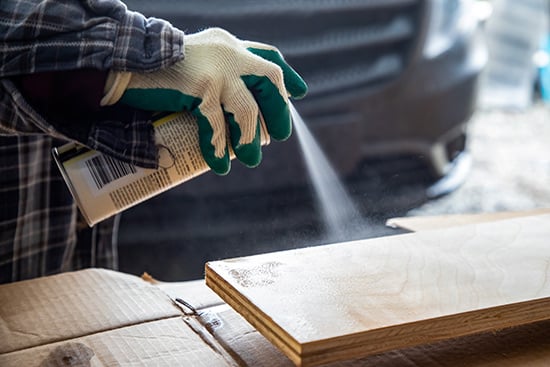 Lacquer is a fast-drying, solvent-based finish with a hard, durable, and glossy result. It’s a typical choice for furniture, cabinetry, and musical instruments.
Pros:
- Dries quickly
- High-gloss finish
- Resistant to moisture and scratches
Cons:
- More challenging to apply than other finishes
- Requires special equipment, such as a spray gun
Application tips: Apply lacquer using a spray gun, working in thin, even coats. Allow each coat to dry for 30 minutes to an hour before lightly sanding and applying additional coats. Use a tack cloth to remove any dust between coats.
Water-based Finishes
Water-based Polyurethane
Used for furniture, cabinetry, and flooring, this kind of finish offers excellent protection against moisture and scratches.
Pros:
- Low odor
- Dries quickly
- Clear, non-yellowing finish
Cons:
- Lacks the durability of an oil-based polyurethane
- May raise the wood grain
Application tips: Apply water-based polyurethane with a high-quality synthetic brush, working in thin, even coats. Allow each coat to dry for at least 2–4 hours before lightly sanding and applying additional coats. Use a tack cloth to remove any dust between coats.
Water-based Acrylic
Water-based acrylic is a clear finish used for furniture, cabinetry, and crafts.
Pros:
- Easy to apply
- Dries quickly
- Clear, non-yellowing finish
Cons:
- Less durable than other finishes
- May require multiple coats for optimal protection
Application tips: Apply water-based acrylic with a high-quality synthetic brush, working in thin, even coats. Allow each coat to dry for at least 1–2 hours before lightly sanding and applying additional coats. Use a tack cloth to remove any dust between coats.
Wax Finishes
Paste Wax
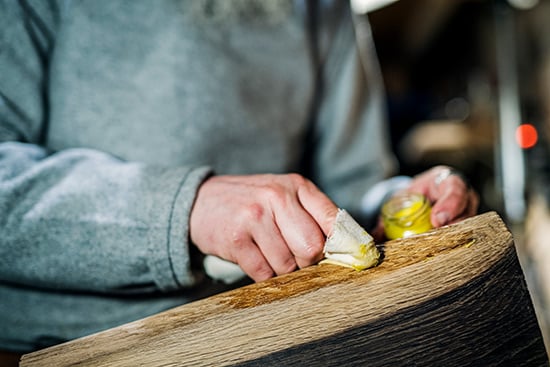
Paste wax is a soft, solid wax that provides a protective, low-sheen finish. It’s common for furniture, antiques, and wooden floors.
Side note: you can also apply it on your power tools, such as table saws and routers, to help reduce friction as you’re using them.
Pros:
- Natural, low-sheen finish
- Can buff to a higher gloss if desired
Cons:
- Limited protection against moisture and scratches
- May require regular reapplication
Application tips: Apply paste wax with a clean, lint-free cloth, working in small, circular motions. Allow the wax to dry for 15–30 minutes before buffing it with a clean cloth to achieve the desired sheen. Reapply wax as needed to maintain the finish.
Liquid Wax
Liquid wax is a blend of waxes and solvents that, like paste wax, has a low-sheen look. It works well for furniture, antiques, and wooden floors.
Pros:
- Easy to apply
- Dries quickly
Cons:
- Limited protection against moisture and scratches
- May require regular reapplication
Application tips: Apply liquid wax with a clean, lint-free cloth or a high-quality brush, working in thin, even coats. Allow the wax to dry for 15–30 minutes before buffing it with a clean cloth to achieve the desired sheen. Reapply wax as needed to maintain the finish.
Wood Stains
Wood stains are pigmented finishes that, when applied, change the wood color, enhance the grain, or add depth to the appearance. They can be either water-based or oil-based and are commonly used for furniture, cabinetry, or trim.
Pro:
- Wide range of color options
Cons:
- May raise the wood grain during application
- Protective topcoat is needed for optimal durability
Application tips: Apply wood stain with a clean, lint-free cloth or a high-quality brush, working in the direction of the wood grain. Allow the stain to penetrate the wood for the desired amount of time before wiping off any excess with a clean cloth.
Keep in mind that water-based and oil-based may have slightly different application methods and dry times, so follow the instructions on the container.
Then, once the stain has dried completely, you can apply a protective topcoat, such as polyurethane or lacquer.
Wood Dyes
Wood dyes allow you to change the color of the wood you’re working with—often a piece of furniture, cabinetry, or other fine woodwork.
Pro:
- Vibrant, consistent color that can be used for a wide range of effects
Cons:
- More challenging to apply than stains
- Protective topcoat is needed for optimal durability
Application tips: Apply wood dye with a clean, lint-free cloth or a high-quality brush, working in the direction of the wood grain. Allow the dye to penetrate the wood for the desired amount of time before wiping off any excess with a clean cloth. Allow the dye to dry completely before applying a protective topcoat, such as polyurethane or lacquer.
Paint
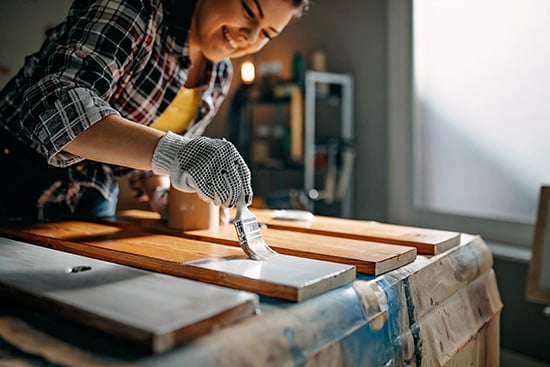 Some woodworkers might grimace at the thought of covering up a beautiful piece of wood. Nonetheless, many people use paint to customize the color of their wood projects, whether furniture, cabinetry, or trim.
Pros:
- Excellent coverage
- Wide range of color options
- Durable protection
Cons:
- Can obscure the wood’s natural beauty
- May require more extensive surface preparation than other finishes
Application tips: Apply paint with a high-quality brush, roller, or spray gun, working in thin, even coats. Allow each coat to dry for at least 2–4 hours before lightly sanding and applying additional coats. Use a tack cloth to remove any dust between coats.
Epoxy Resin
Epoxy resin is a two-part, clear finish that is mixed and applied to wood surfaces to create a durable, high-gloss, protective coating. It is commonly used on bar tops, countertops, furniture, and woodworking projects with inlays or embedded objects.
Pros:
- Crystal-clear, high-gloss finish
- Very durable against moisture and scratches
Cons:
- Challenging to apply
- May require special equipment and surface preparation
- More expensive than other finishes
Application tips: Mix the epoxy resin according to the manufacturer’s instructions, being sure to measure accurately and mix thoroughly. Apply 1/16” or less to the whole surface using a notched trowel, foam brush, or your fingers (with gloves on!). This first seal coat is necessary to avoid potential air bubbles or “fisheyes” from appearing in the finish—which can happen as the epoxy starts to gel.
Once dry, sand the whole surface with 100 grit sandpaper and repeat the first step.
Don’t miss this critical step before applying a wood finish
Choosing and applying an appropriate finish is essential for any woodworking project. And here, we’ve equipped you to understand the different types of finishes and how to apply them.
But a good finish—no matter how durable—won’t counteract the effects of wood with excess moisture.
To ensure a beautiful and durable result, be sure to check the moisture content of your wood (1) before you begin your project, (2) during the build, and (3) before you apply your finish.
Only then can your choice of finish truly do its job. And only then can you be sure of a professional-quality result that stands the test of time.
For more about wood and moisture, check out our article explaining why moisture content is so critical for woodworking projects.
Learn more about the basics of wood finishes and tips when applying.

Wagner Meters is a family-owned American business that aims to provide solutions in moisture measurement technology that will enhance the quality and value of each customer’s project. With an almost 60-year legacy of innovation, Wagner continues to be a resource for both individual craftsmen and high-performance commercial endeavors.
Last updated on December 11th, 2024


Bigggg Help….Thank You much….crk
Awesome. I appreciate the knowledge.
Epoxy seal coats.
I’d like to know what stain to use to enhance grain before I pour.
I imagine pour a seal coat still applies.
I’ve got Redwood shimmer I’d like to enhance. It’s reflective when wet and un-sanded.
I’d like to know how to sand it without ruining the cross grain shimmer.
Belt sander was too much.
Orbital too much.
Damn near ripping chain and polisher ball and drill is about the best I’ve seen so far.
Such an awesome blog! All the information provided by you is really very helpful for all. By using tack cloth you can keep your project dust-free and it is useful for cleaning fine dust off a surface and gives you a smooth finish. Keep Posting! Keep Sharing!